Preparation guide
Floor preparation before resin: grinding or blasting
Resin fails when the concrete underneath is wrong. Find out what shot blasting, diamond grinding and patching each do to a slab, and why the preparation method changes depending on the coating going over it.
Why the concrete surface decides if the resin holds
A resin coating bonds to whatever sits on top of the concrete. If that surface carries dust, old paint, oil stains or a smooth trowelled finish, the resin will eventually lift. Preparation removes those barriers and opens the pores of the slab so the liquid resin can grip.
Different coatings need different levels of grip. A thin seal coat for a domestic garage asks less of the concrete than a thick polyurethane screed meant to take daily forklift traffic. The specialist doing the work decides how aggressive the preparation needs to be by looking at the resin system, the condition of the slab and what the floor will carry once finished.
Skipping this stage or guessing at the method causes most early resin failures. Peeling usually starts where the preparation stopped short, often near edges, joints or patches that were harder to reach.
Diamond grinding for flat slabs and thin coatings
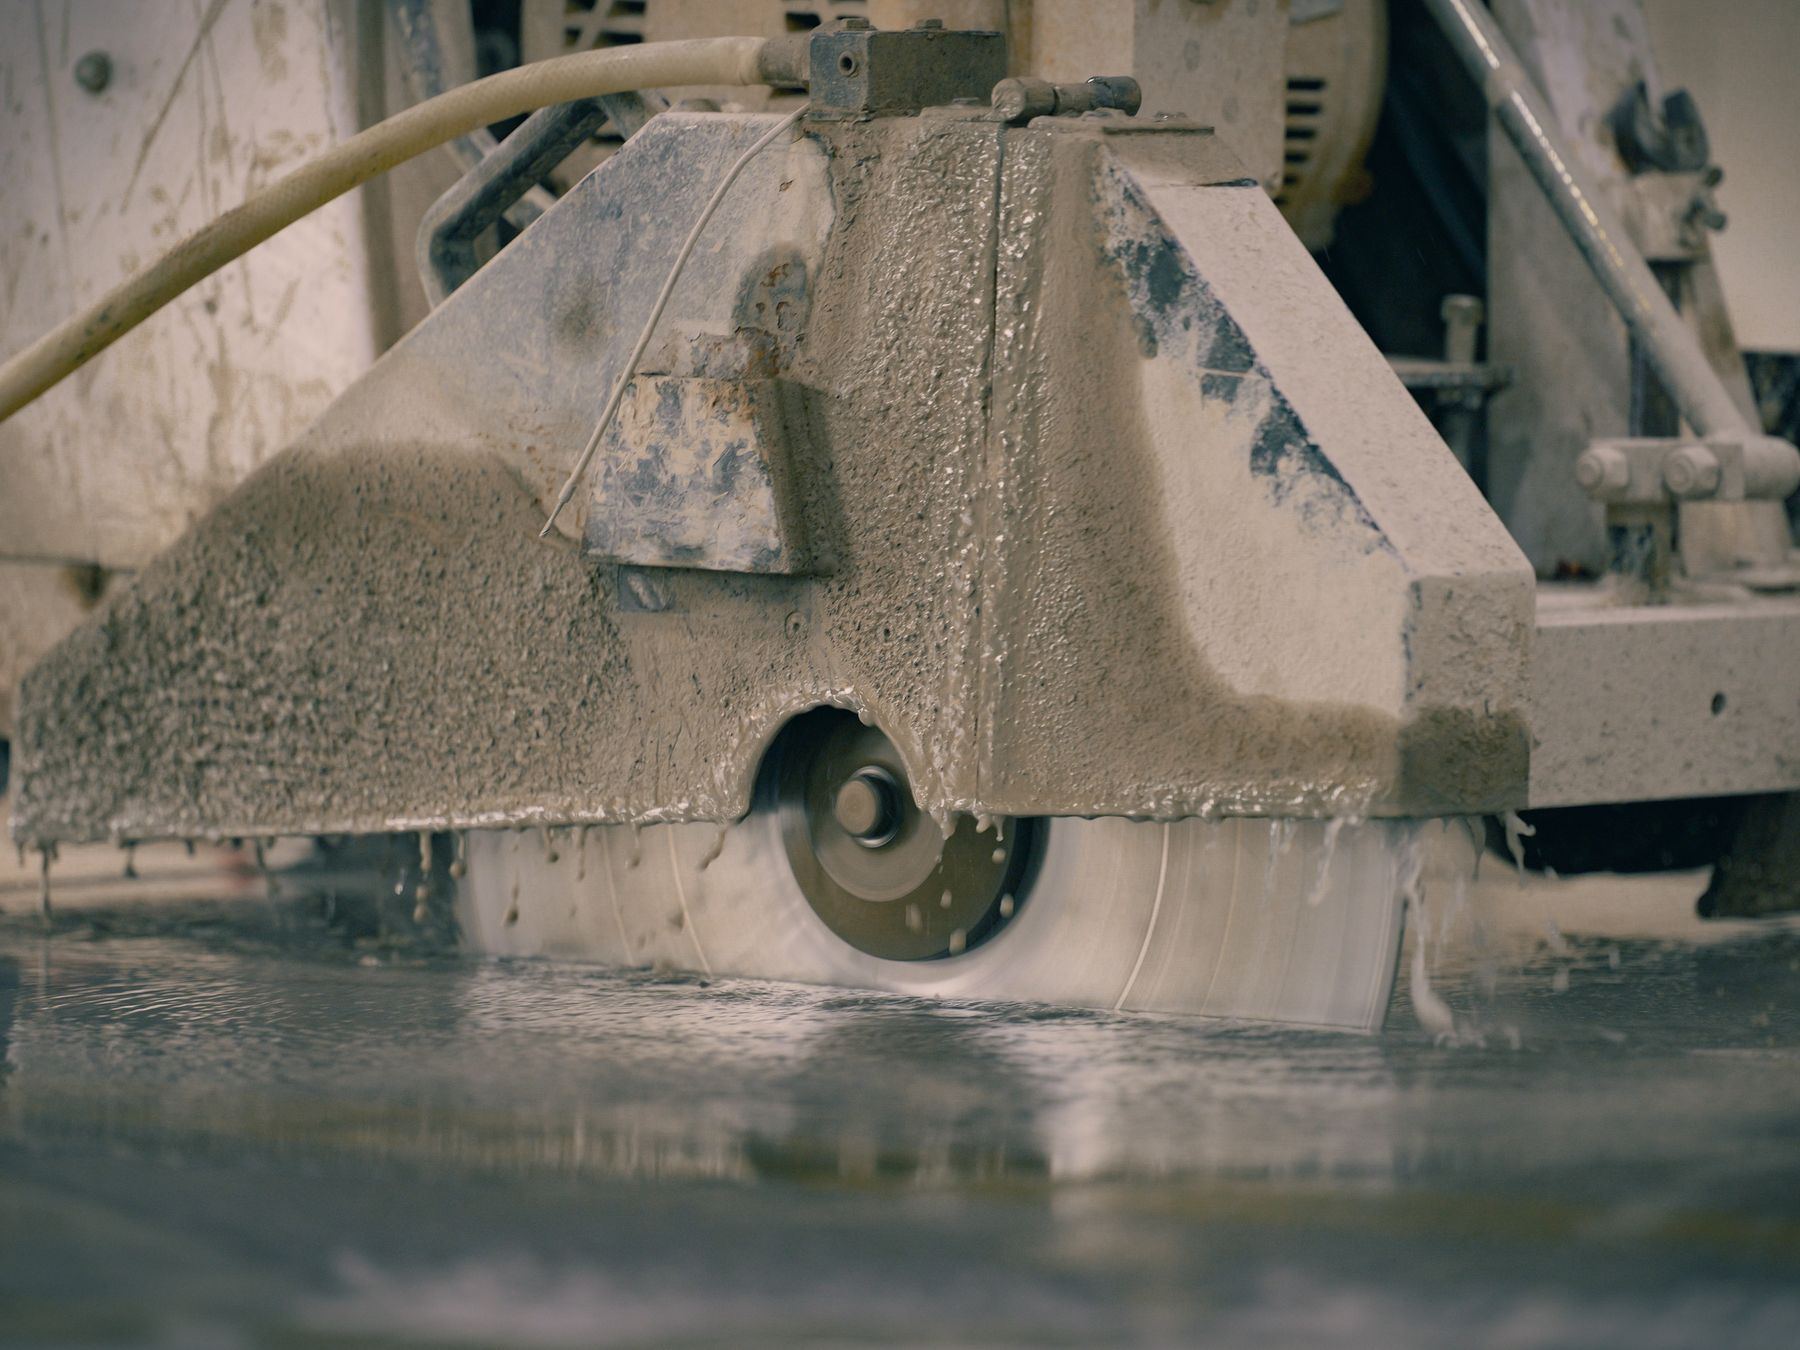
Diamond grinding uses heavy rotating discs fitted with abrasive segments to shave the top layer off the concrete. It leaves a flat, smooth profile. That flatness matters when the resin being applied is thin, because any dip or ridge in the concrete will show straight through the finished surface.
Grinding also works well when removing light contaminants like old sealers, adhesives or minor surface stains. The machine passes over the slab repeatedly until the surface is clean and level.
Because grinding polishes as it cuts, it can leave the concrete too smooth for heavier coatings. A very flat surface gives a thin epoxy plenty to hold onto, but a thicker screed needs more texture. Specialists measure the surface profile after grinding to check it matches what the resin manufacturer requires. If the profile is too fine, they may switch methods or add a secondary treatment before pouring anything.
Shot blasting to open the pores for heavy-duty resin
Shot blasting fires small steel beads at the concrete under high pressure. The impact chips away the surface and leaves a rough, textured profile. That texture gives thick resin systems something mechanical to lock into.
This method suits warehouse floors, factory units and anywhere the coating must withstand heavy loads or constant traffic. The rougher the surface, the deeper the resin penetrates, and the harder it becomes to pull the coating away from the slab.
Shot blasting also strips thick layers of old paint, stubborn adhesives and deeply embedded dirt that grinding might only smear around. The machine collects the spent shot and debris through a vacuum system attached to the blast head, leaving the floor ready for the next step.
The noise and dust mean the area needs clearing first. Specialist contractors usually schedule blasting when the unit is empty or section off the space entirely.
Patching and repair before the main coating goes down
Neither grinding nor shot blasting fixes holes. If the slab has cracks wider than a hairline, spalled edges or shallow craters, those faults need filling before any resin touches the floor. Liquid resin will simply drain into a crack and leave a weak line that breaks under foot traffic.
Specialists use fast-setting repair mortars matched to the resin system going on top. An epoxy mortar fills gaps under an epoxy coating; a cementitious patch suits a polyurethane screed. Mixing incompatible materials causes the patch to reject the coating later.
Once the mortar cures, the contractor grinds the patched areas flush with the surrounding slab. This stops the repair showing through the final finish and ensures the resin spreads evenly across the whole floor without pooling in low spots or running thin over raised ones.
Moisture testing after preparation is done
Opening up the concrete surface releases trapped moisture. A slab that tested dry before grinding might read differently afterwards, especially if the work exposed a deeper layer.
Specialists test for moisture after preparation and before applying any primer. If the reading is too high, the resin will bubble, turn white or lose adhesion as water vapour pushes up through the curing film. In some cases the contractor installs a damp-proof membrane or switches to a moisture-tolerant primer designed to handle the extra vapour.
Testing takes time, and rushing past it is a common reason floors fail within months. The right preparation sequence always ends with verification, not assumption. Only once the surface profile is correct, the repairs are flush and the moisture readings fall within limits does the actual coating work begin.
Ask about preparing your concrete floor
Send details about your floor and what you need it to do. A specialist contractor will review the information and advise on preparation and coating options, with no obligation to proceed.
- No obligation to proceed
- Specialist reviews your details
- Advice tailored to your floor